
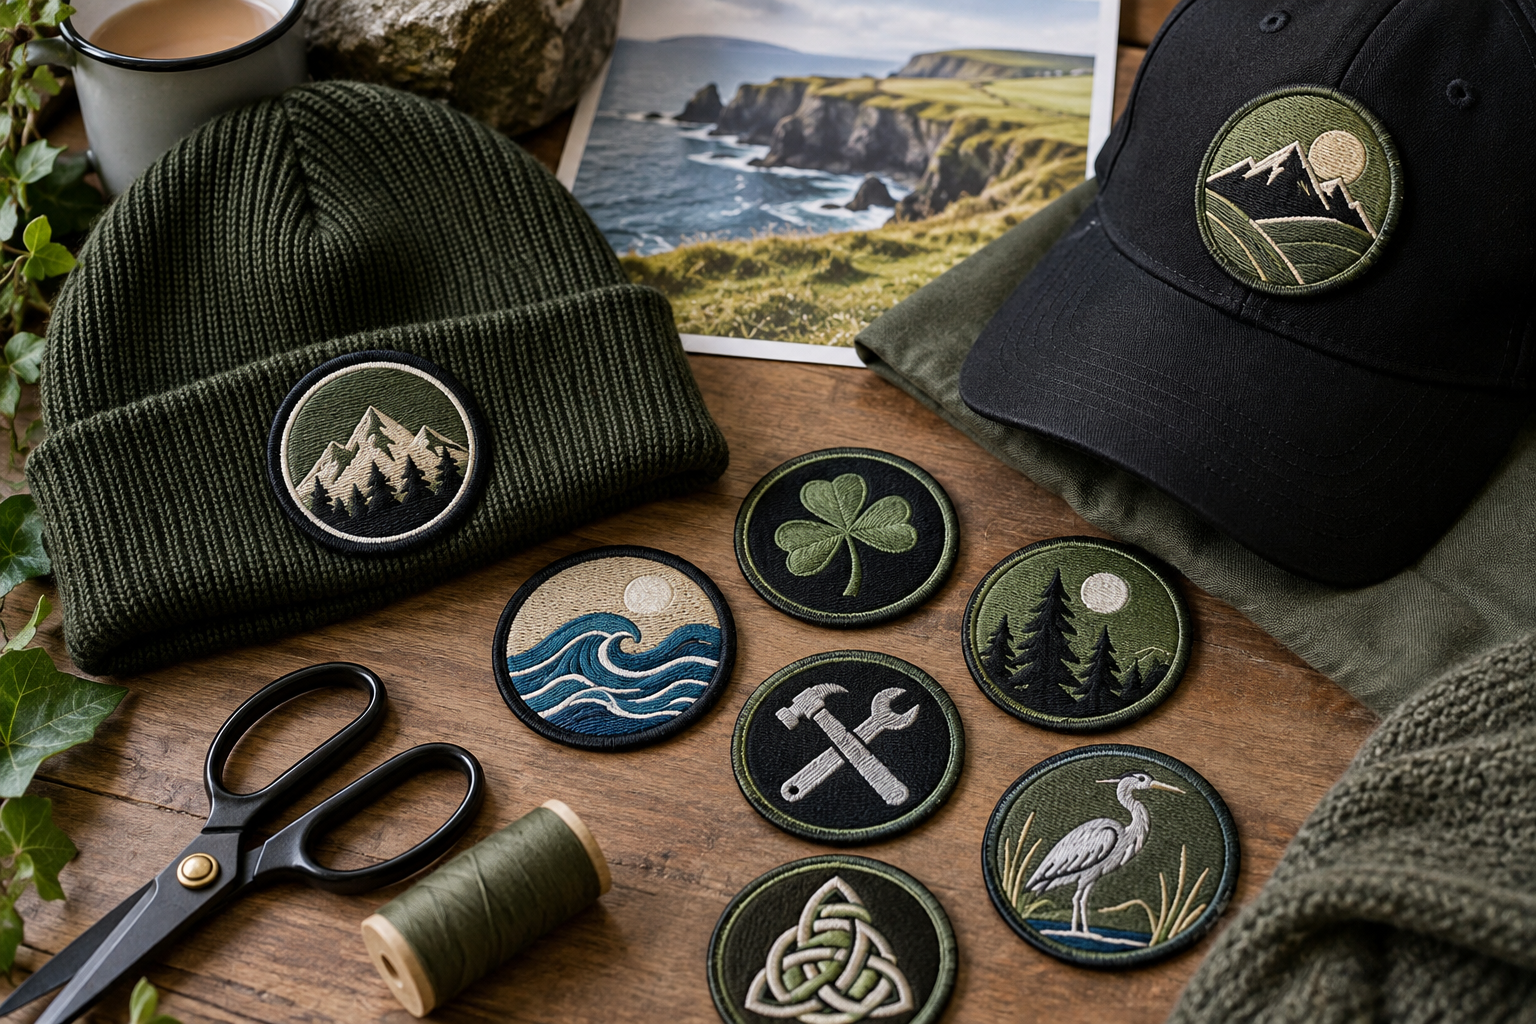
Why patch a cap instead of embroidering it?
Brands, clubs and businesses use patched caps because a patch looks premium, can carry detail that is hard to stitch directly on a curved panel, and lets you buy blank caps from any supplier. Searches for hat embroidery and hat patches in Ireland are steady, especially from streetwear brands and clubs.
Which patch types suit caps?
| Patch type | Look on a cap | Notes |
|---|---|---|
| Leather | Premium, heritage | The most popular cap patch for brands |
| Embroidered | Classic, colourful | Works on every cap style |
| 3D puff embroidered | Raised, bold lettering | Classic snapback look; see our 3D puff guide |
| Woven | Flat, detailed | Good for small text and fine logos |
| PVC | Bold, rubbery, outdoor | Suits outdoor and adventure brands |
| Chenille | Soft, varsity | Works on beanies and dad caps |
Size and placement
- Baseball cap or snapback: 5 to 6 cm wide, up to about 5 cm tall, centred on the front panels 1 to 2 cm above the brim. - Trucker cap (foam front): 6 to 7 cm wide on the foam panel. - Dad cap (unstructured): 4.5 to 5.5 cm wide; keep it smaller as the front is softer. - Beanie: 5 to 7 cm wide, centred on the folded cuff.
Our patch placement guide covers other garments.
See your artwork as a custom Ireland patch before you buy. Free digital mockup in 12 hours — 5-piece minimum per design. We do not produce until you approve.
GET A FREE MOCKUPMethod 1: iron-on (cotton and polycotton caps)
1. Check the cap is cotton or polycotton and can be ironed. 2. Stuff the cap firmly with a rolled towel so the front panel is supported and holds its curve. 3. Position the patch and hold it with a strip of heat-resistant or masking tape at the edges. 4. Use a small iron, a mini craft iron or a hat press at the cotton setting with no steam. 5. Cover with a cotton cloth and press firmly for 20 to 30 seconds, rocking gently to follow the curve. 6. Reach inside and press the inside of the panel if you can, then let it cool on the towel.
The general method is in how to iron on a patch.
Method 2: sew-on (beanies, wool and structured caps)
1. Pin or tape the patch in place. 2. Use a curved or short sharp needle and polyester thread matching the patch border. 3. Stitch through the border from the inside of the cap, every 3 to 4 mm. 4. On structured caps the buckram stiffener makes sewing harder; use a thimble. 5. On beanies, sew through the outer layer of the cuff only, so the cuff still folds.
Sewing is the most durable method and the only safe one for knitted beanies and wool.
Method 3: heat-activated adhesive for leather patches
Leather cap patches are commonly finished with a heat-activated adhesive and applied with a hat press, which gives a clean edge without visible stitching. If you are applying them yourself without a press, stitching around the edge with a leather needle is more reliable than trying to iron leather. Our guide to leather patches for caps, denim and bags explains the options.
Ready to spec type, size, backing, and quantity? Open the quote form for a free 12-hour mockup and Ireland-wide shipping after approval.
GET A FREE MOCKUPApplying patches to a batch of caps
For brand or club orders of dozens of caps, a hat heat press makes every cap consistent and fast. Mark the centre of the brim on each cap, use a template to set the height, and check the first few before doing the rest. If you do not have a press, a local print or embroidery shop may apply patches for you.
Caring for patched caps
Hand wash caps in cool water with mild soap and let them dry on a bowl or ball so they keep their shape. Do not put structured caps in a washing machine or dryer. Spot-clean leather patches and keep them out of hot cars, which can dry out leather and soften adhesive.
What this guide is based on
These methods are what Irish Customized Patches recommends for customers applying cap patches themselves. We make cap patches in leather, embroidery, 3D puff, woven and PVC from 5 pieces per design, with a free mockup showing the size on the cap. Get a free cap patch mockup.