
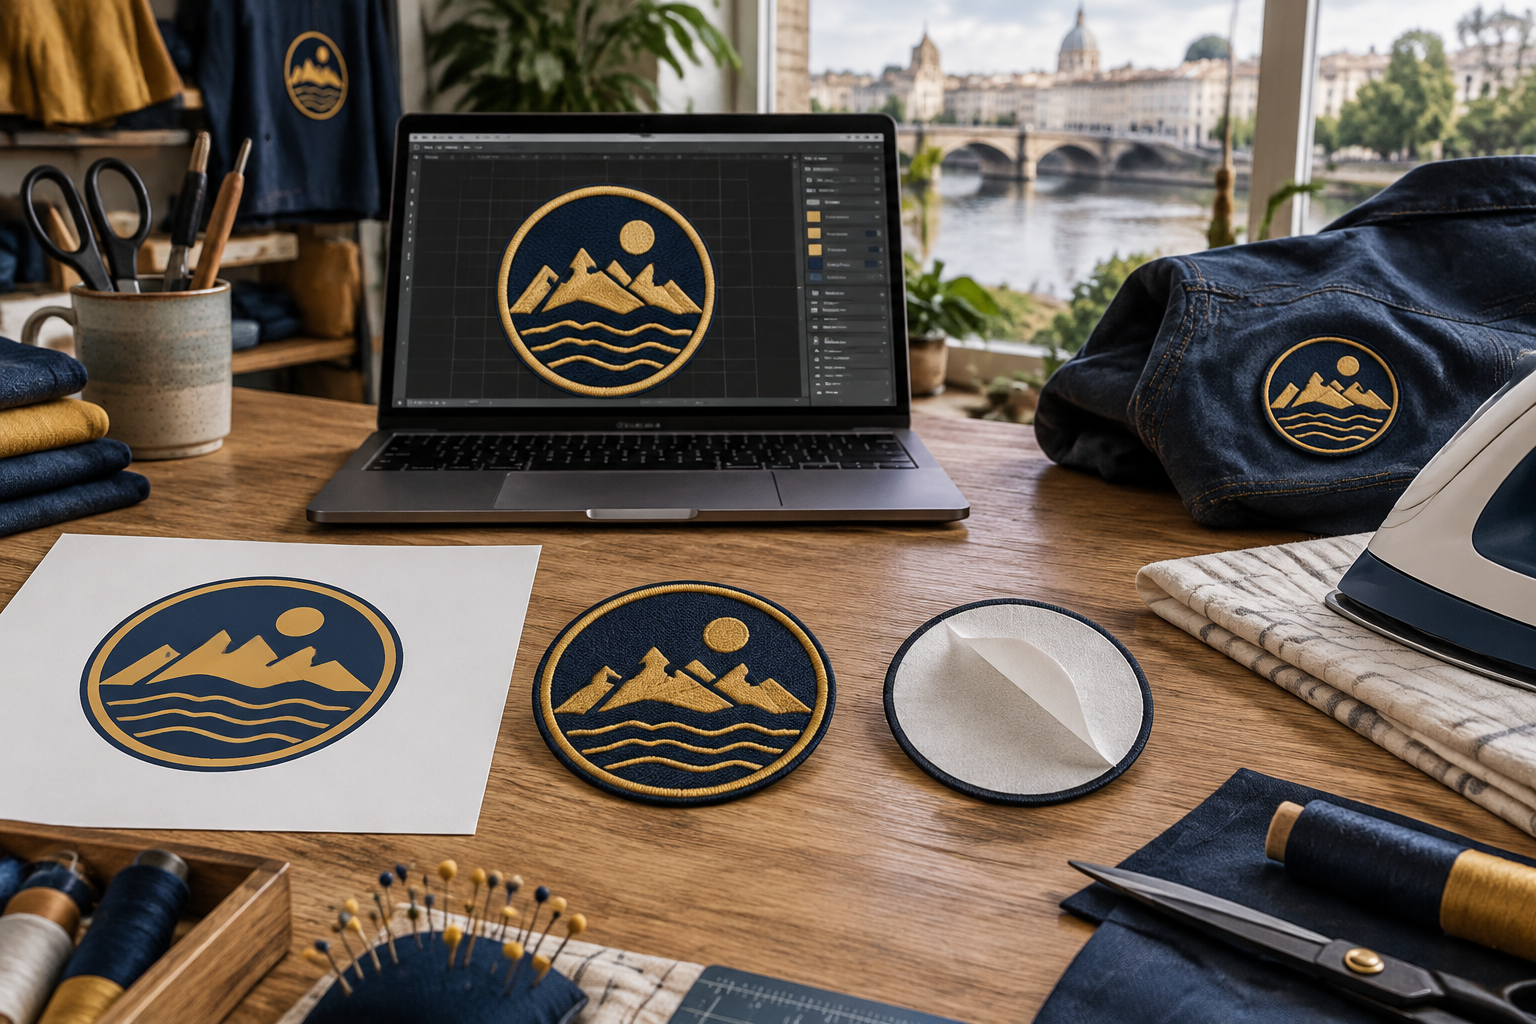
What does an iron-on patch actually do?
An iron-on patch has a thin layer of heat-activated adhesive on the back. When it gets hot enough, the glue melts, soaks into the weave of your fabric and grips it as it cools. If the glue only softens instead of melting through, the patch looks fine on day one and starts lifting at the edges after the first wash.
That is why the method matters more than the patch. A well-made embroidered patch with good adhesive will still peel if it is pressed for five seconds with a steam iron. The steps below are the ones we give every customer who orders iron-on backing from Irish Customized Patches.
What you need before you start
You do not need special equipment. A normal household iron does the job if you control heat, pressure and time.
- A household iron with the steam turned off and the water tank empty
- A thin cotton cloth, a pillowcase or a clean tea towel to protect the patch
- A hard, heat-safe surface; an ironing board is often too soft, so a table with a folded towel works better
- The garment, washed and dried first if it is new, so any fabric finish does not block the glue
- A few pins or a little masking tape to hold the patch in place
Step-by-step: how to iron on a patch
- Check the care label. If the garment says "do not iron" or is mostly nylon, polyester sportswear or leather, stop here and use a sew-on or Velcro backing instead.
- Heat the iron to the cotton setting (or the highest setting the fabric allows) and let it reach full temperature. Make sure steam is off.
- Lay the garment flat and press the area for a few seconds to remove creases and moisture.
- Place the patch glue-side down where you want it. Use the patch placement guide if you are unsure about height and centring.
- Cover the patch with your pressing cloth.
- Press the iron straight down with firm body weight and hold it still for 20 to 30 seconds. Do not slide it around, as that shifts the patch and cools the glue unevenly.
- Lift the iron, check that the edges have stuck, and press again on any area that has not.
- Turn the garment inside out and press the back of the patch area for another 20 to 30 seconds. This is the step most people skip, and it is the one that drives heat into the glue through the fabric.
- Leave the garment flat to cool completely, for at least five minutes, before you move or try the patch.
- Wait 24 hours before washing.
See your artwork as a custom Ireland patch before you buy. Free digital mockup in 12 hours — 5-piece minimum per design. We do not produce until you approve.
GET A FREE MOCKUPWhich fabrics work with iron-on patches?
Iron-on adhesive needs a fabric that can take enough heat and has a weave the glue can grip. This table covers the materials customers ask us about most.
| Fabric | Iron-on works? | Better option |
|---|---|---|
| Cotton (t-shirts, tote bags, caps) | Yes, very well | Iron-on is fine |
| Denim jackets and jeans | Yes, very well | Add a few stitches at the corners for heavy wear |
| Polycotton workwear and hoodies | Yes, with a lower setting and longer press | Sew-on for daily washing |
| Fleece | Sometimes; it can flatten or melt | Sew-on |
| Nylon, rainwear, puffer jackets | No, the heat can melt the fabric | Sew-on or Velcro |
| Leather and suede | No | Sew-on with a leather needle |
| Stretch sportswear (Lycra, dri-fit) | No, the patch cannot stretch with it | Sew-on or printed transfer |
Why do iron-on patches peel off?
Nearly every peeling patch we see comes from one of five causes:
- Too little heat. The iron was on a synthetic setting, so the glue softened but never melted.
- Too little time or pressure. A quick five-second press does not reach the glue in the middle of the patch.
- Steam. Moisture between the patch and fabric stops the adhesive bonding.
- No press from the back. Thick embroidered patches insulate the glue from the iron, so heat from the front alone is not enough.
- Washing too soon or too hot. The bond needs a day to settle, and hot washes and tumble dryers soften it again.
If a corner lifts later, cover it with your pressing cloth and press that spot again for 15 to 20 seconds, then from the back. For a jacket you wear every day, a few stitches around the edge make the patch permanent. Our guide to iron-on vs sew-on patches explains when that is worth doing from the start.
Ready to spec type, size, backing, and quantity? Open the quote form for a free 12-hour mockup and Ireland-wide shipping after approval.
GET A FREE MOCKUPCan you iron on a patch with a hair straightener?
For small patches on caps or sleeves, a hair straightener can work because it delivers heat from both sides at once. Protect the patch with a thin cloth, clamp for 15 to 20 seconds, and check the edges. For anything bigger than about 5 cm, an iron gives more even pressure. A heat press is the most reliable tool if you are applying a whole team's worth of patches; set it to about 150 to 160°C with medium pressure for 15 to 20 seconds, then follow the adhesive supplier's guidance.
How we make our iron-on patches
At Irish Customized Patches the iron-on backing is applied after the patch is finished and trimmed, so the glue covers the whole back right up to the border. That full coverage is what stops edges lifting. You can choose iron-on backing for embroidered, woven, printed and chenille patches. PVC and leather patches do not suit iron-on adhesive; they are made with a sewing channel or Velcro instead.
If you are not sure which backing suits your garment, tell us what the patch is going on when you request a quote. The free digital mockup we send, usually within 12 hours, shows the size and backing we recommend before anything is produced.
What this guide is based on
This method comes from the application instructions we send with iron-on orders and the questions customers in Ireland ask us after their first wash. Heat settings vary between irons, so treat the times as a starting point and always follow your garment's care label.